
At Meta’s Connect 2023, they just announced their new vision-based body tracking and generative legs. With these features we’ll be able to create really immersive experiences where the avatar follows our natural body movement of squatting, moving side to side, and bending by the hips. Now this is big because Meta is not using any external sensors or wearables instead, they are using the cameras on the headset along with AI to track our body. Now these features will be available for us developers later this year but we can get started by integrating upper body tracking.
Want to watch the video instead?
Until now the only way to set up animation for VR avatars was by using inverse kinematics along with a bunch of scripts to make the avatar’s hands and head follow the controllers and headset. It was a time-consuming process and adjusting the alignment of the VR hands to match the actual controllers was a tedious task. But now with the release of Meta’s Movement SDK, all that can be done within just 2 clicks!!
So in this blog, you’ll see how to download and install the Movement SDK, download a third-party avatar and set it up for animation, and finally how to implement the body tracking feature of the SDK.
So in this blog, you’ll see how to download and install the Movement SDK, download a third-party avatar and set it up for animation, and finally how to implement the body tracking feature of the SDK.
Prerequisite
Before we get started you need to make sure to have the following requirements checked.
Don’t worry I have got you covered here, you can download the base repository with the requirements met here.
- A Unity project with Unity version 2021.3.21f1 (2021 LTS) or newer installed.
- The Unity project setup with Oculus Integration SDK v56.0 or newer with OVRPlugin set to use OpenXR as the backend.
Don’t worry I have got you covered here, you can download the base repository with the requirements met here.
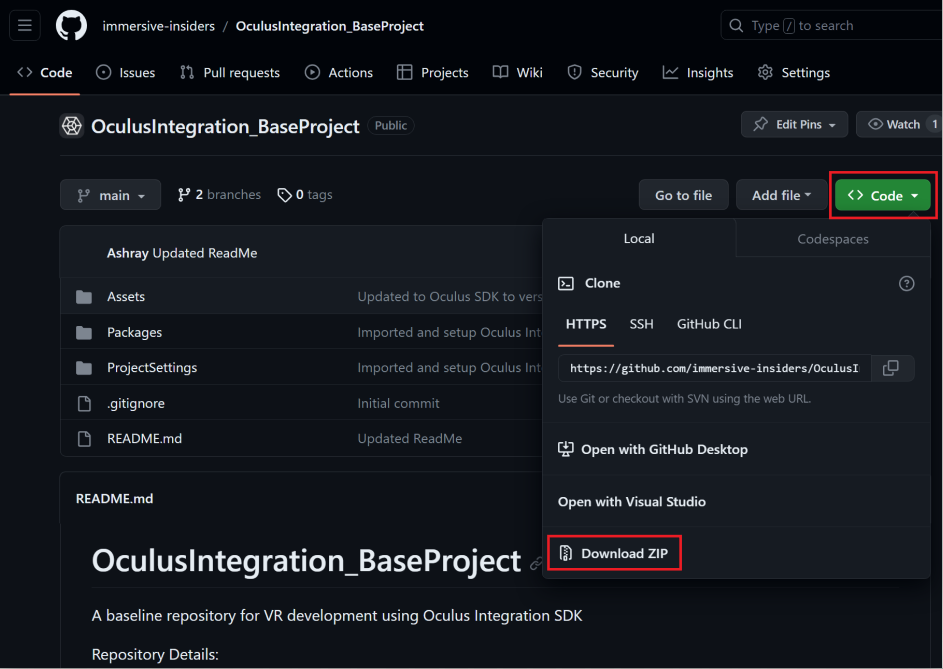
Once you have your project downloaded, open it up and go to File → Build Settings → switch the platform to Android.
Downloading and Importing SDK
To download the SDK:
- First, visit the Meta's Presence Platform and scroll down till you find the Moment SDK and then you can click on Unity.
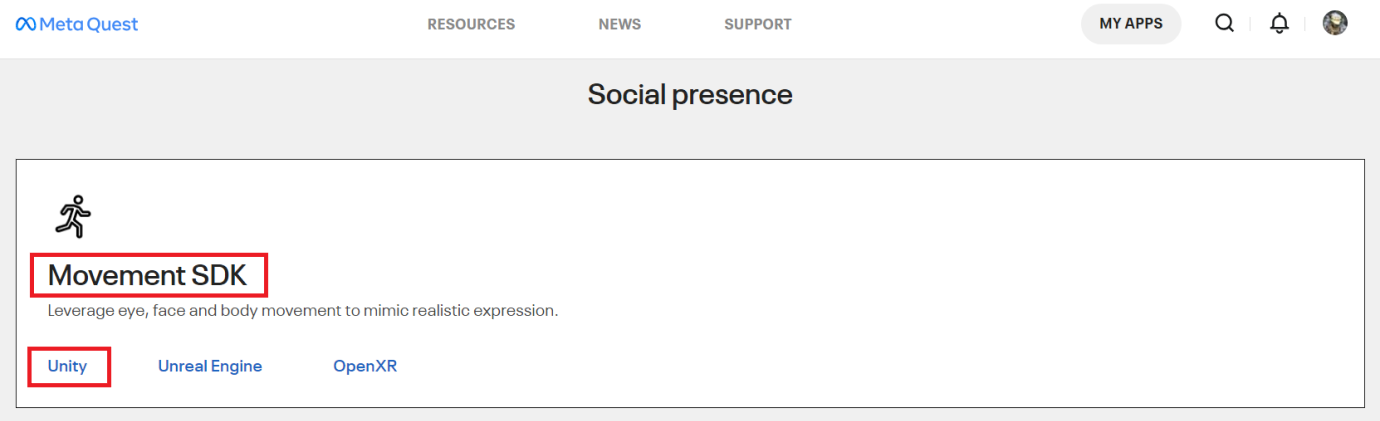
- From here you can open up the git repository to download the Movement SDK.
- We can see that the SDK can be added directly to our project using the git URL or we can download the packages separately and then add it to our project. We’ll choose the second method because that gives us better access to the SDK.

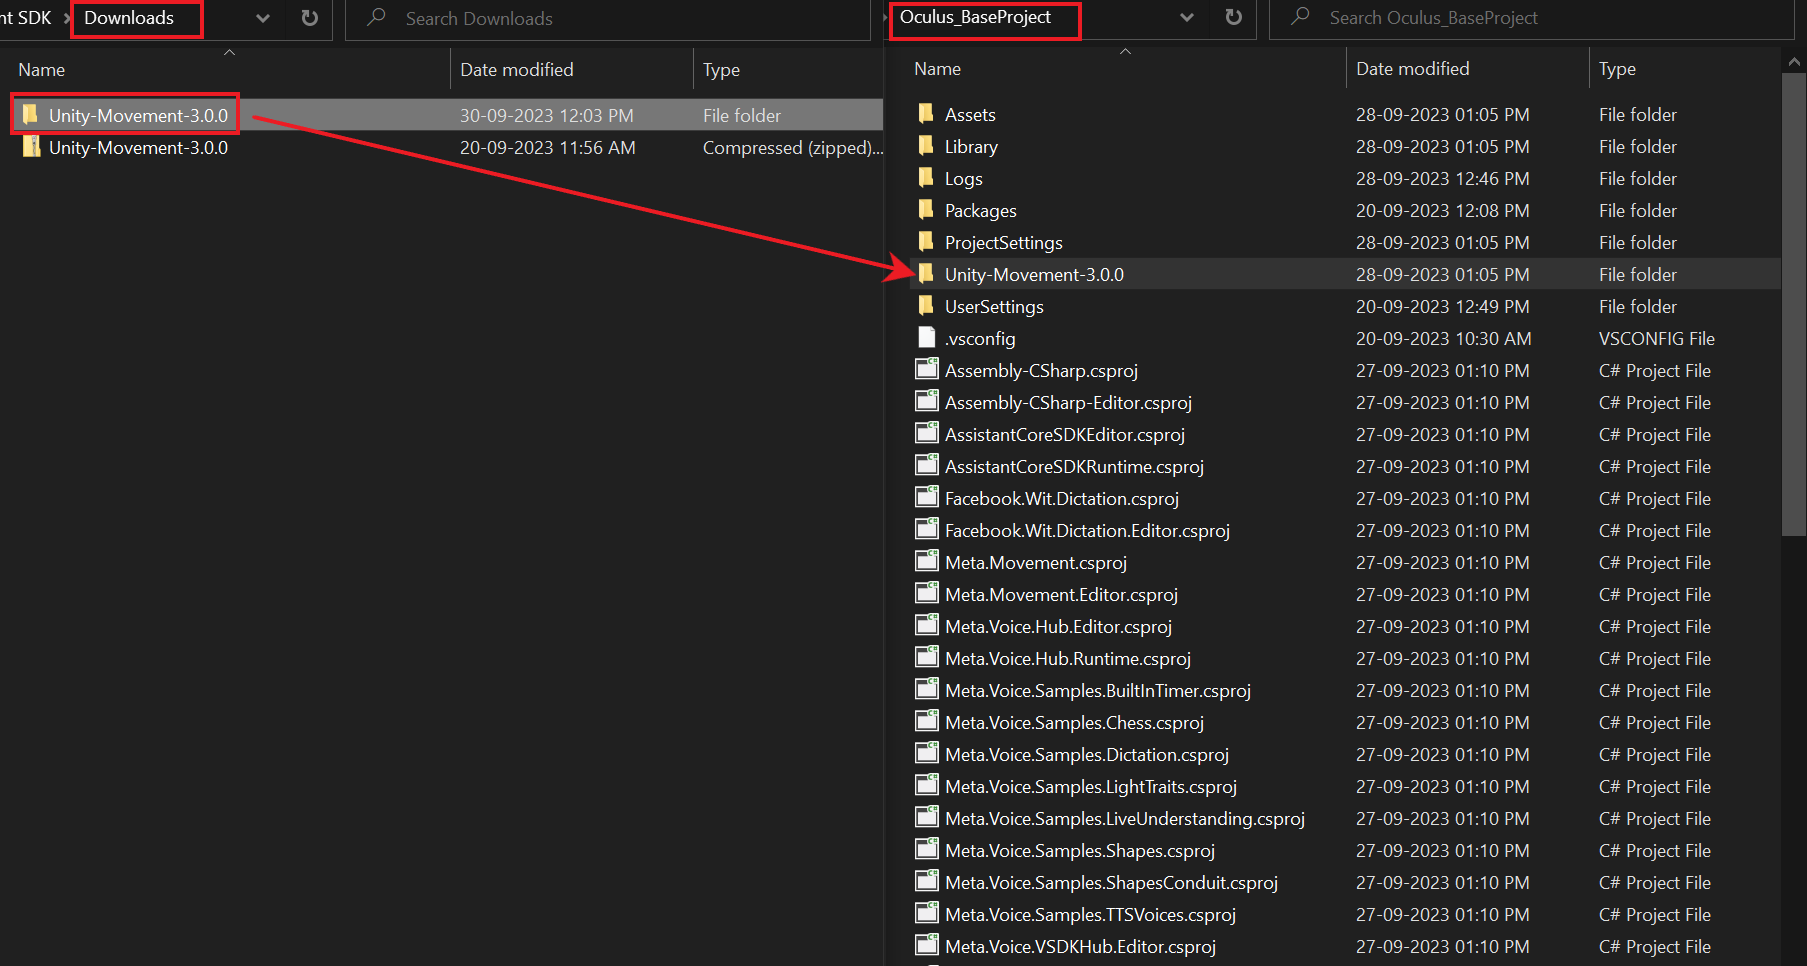
- On the git repository page, click on the Releases and download the latest version that’s available.
- Once the package has been downloaded, extract it and move it into your project folder. This step will ensure that you’ll not accidentally delete the folder.
Now to import the SDK go back to the Unity project and:
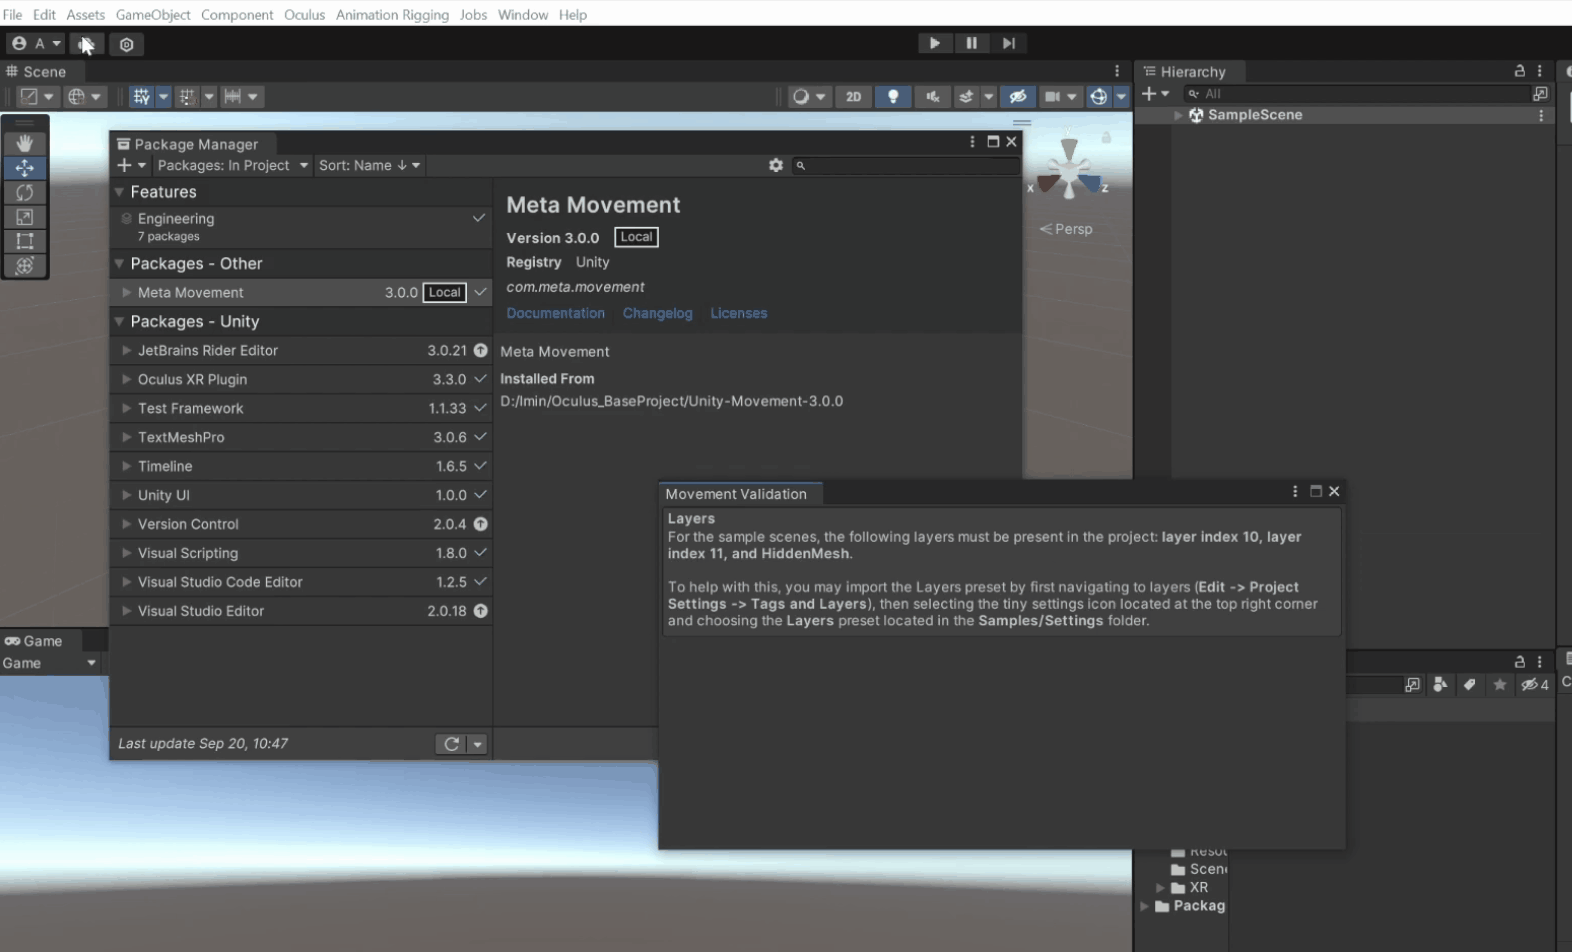
- Click on Windows → Package Manager → click on the plus symbol ➕ → click on Add packages from disk.
- From here navigate inside the extracted folder, click on the packages.json file, and click on open.
After the SDK has been successfully installed you'll receive a prompt asking you to add layers to your project so that the sample scene can work correctly,
- Click on Edit → Project Settings → select Tags and Layers.
- Click on the symbol at the top right corner → click on layers. This will add three more layers.
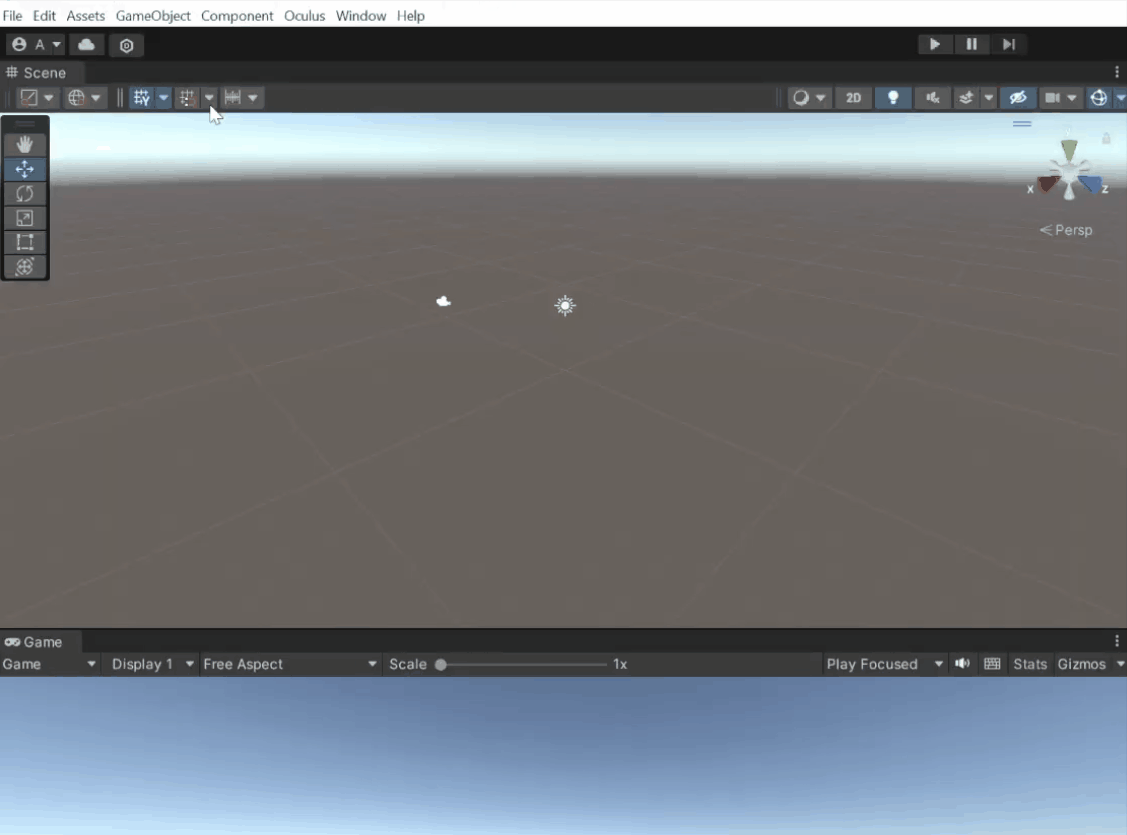
Now we can test one of the sample scenes just to make sure that we have set up everything right. So,
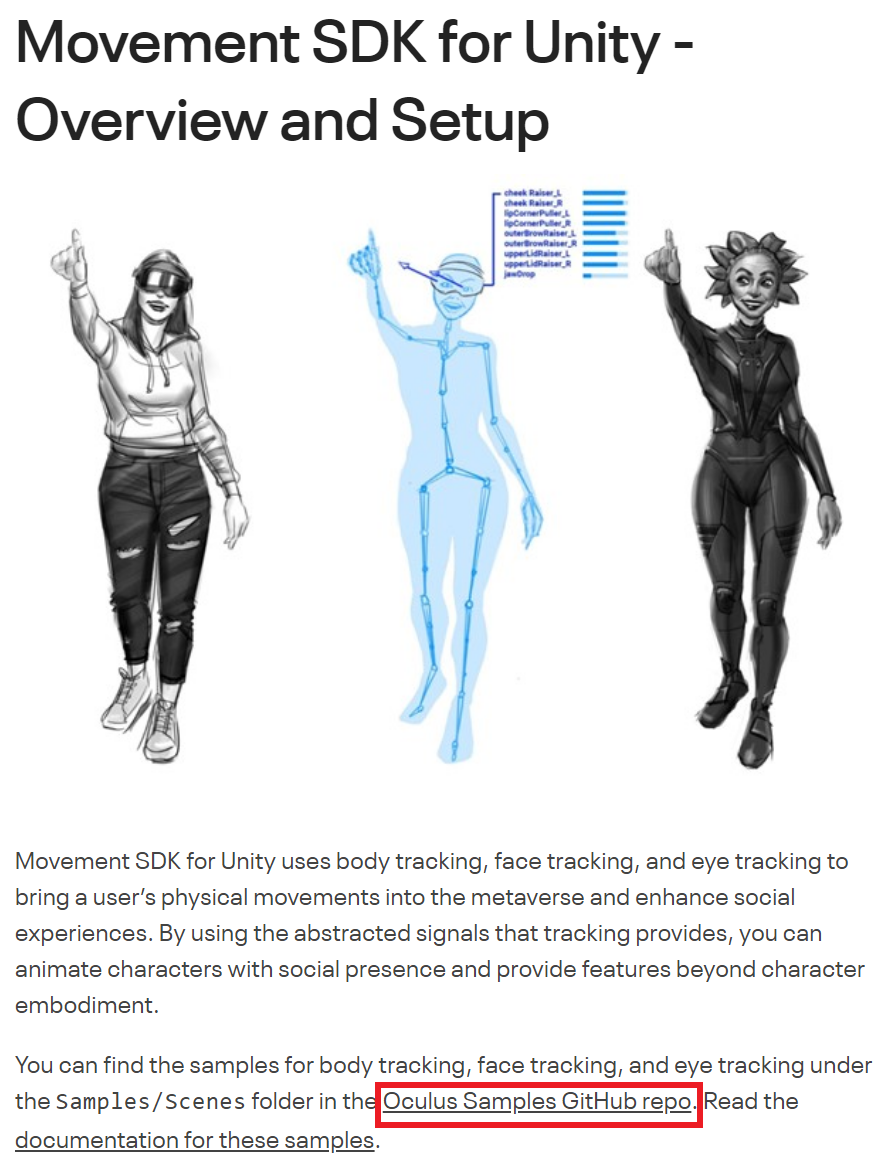
- Navigate inside the Packages folder → Meta Movement → Samples → Scenes. Here there are five scenes and you can test all of them but some of the features like eye tracking and face tracking will not work if you are not using Quest Pro.
- So, select the Movement Retargeting scene and open it.

Before we test this scene make sure you have your Oculus headset connected to the PC either using the Quest link or air link. Then press the play button, and you’ll be able to see the character following your finger, hand, and head movements.
Scene Setup
Now that we know everything is working perfectly fine, let’s see how to set up a scene from scratch.
- In your Unity Project, navigate to the Assets folder and open the Sample scene.
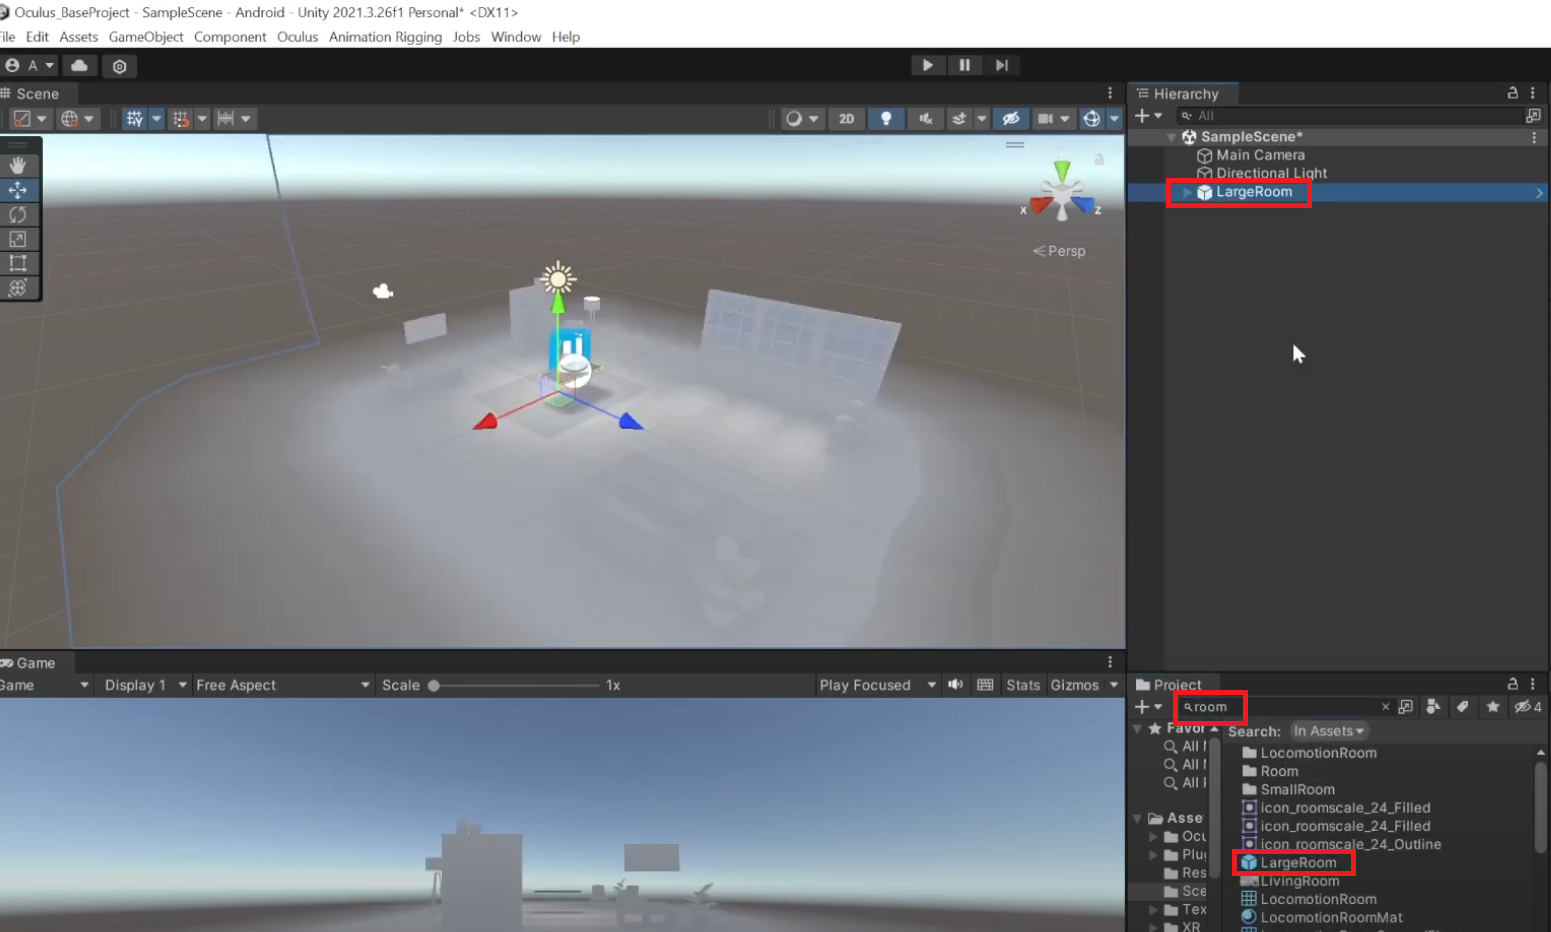
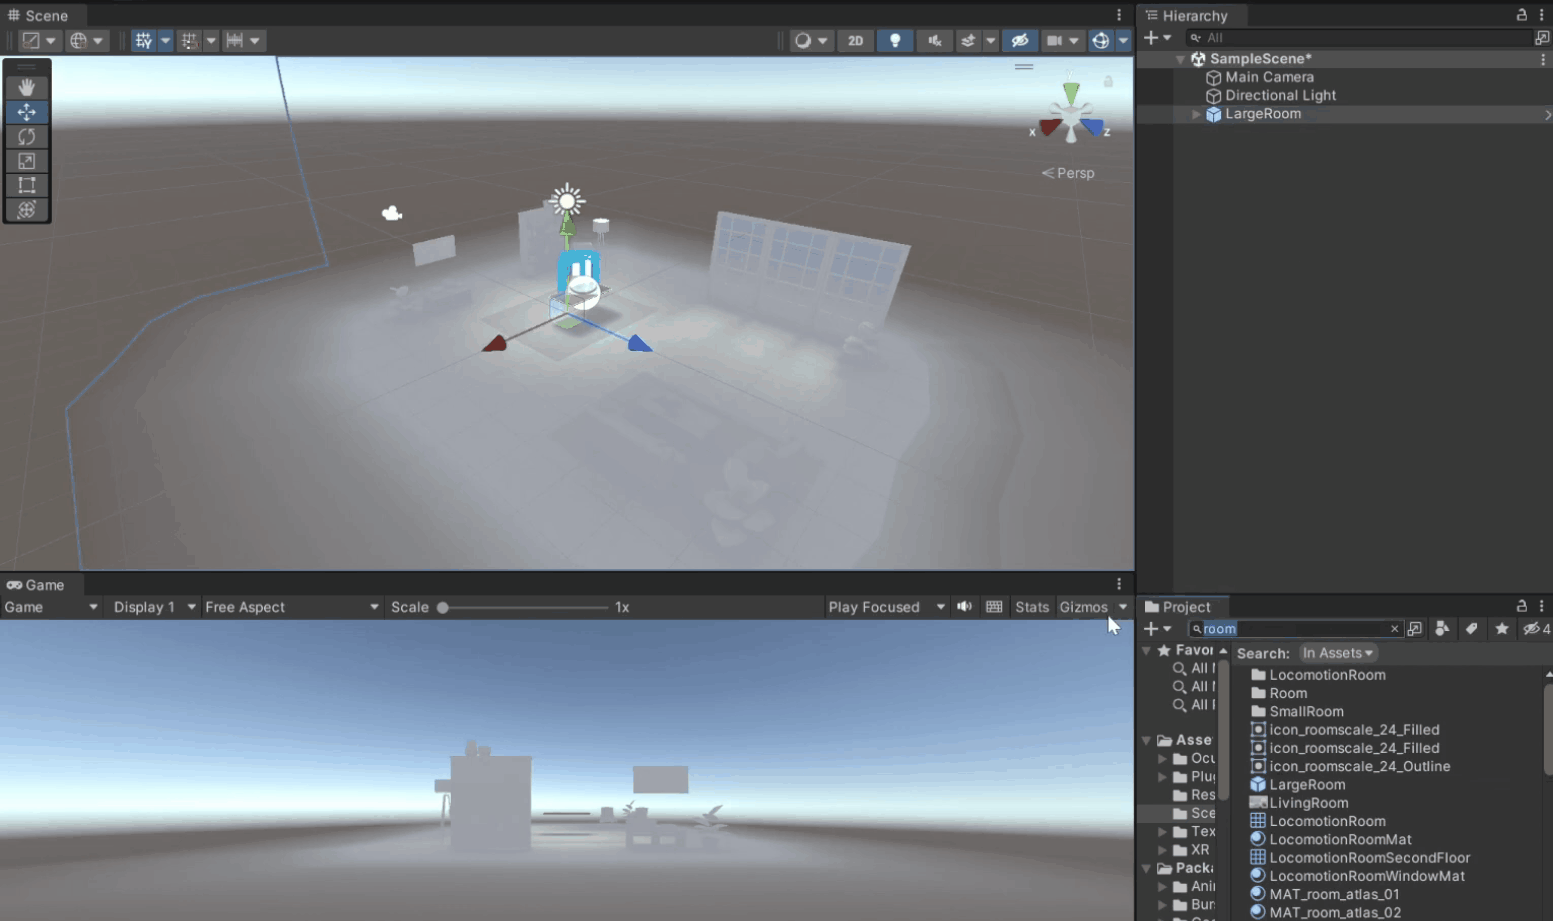
- To add a room environment, in the project folder, search for ‘room’ → select the Large Room prefab → drag and drop it into a scene.
- To add a skybox, search for ‘Skybox gradient’ → select the material → drag and drop this into your scene.
- Then select the main camera and delete it.
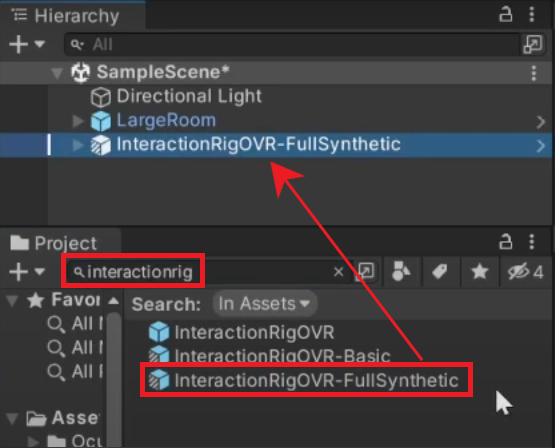
- In the project window search for ‘InteractionRig’ → select the prefab InteractionRigOVRFullSynthetic → drag and drop it into the hierarchy.
- Open the InteractionRigOVRFullSynthetic prefab → select the OVRCameraRig prefab → in the OVR Manager component, set the Body Tracking Support to Required and check the box for ‘Body Tracking’ under Permission Requests on Startup.
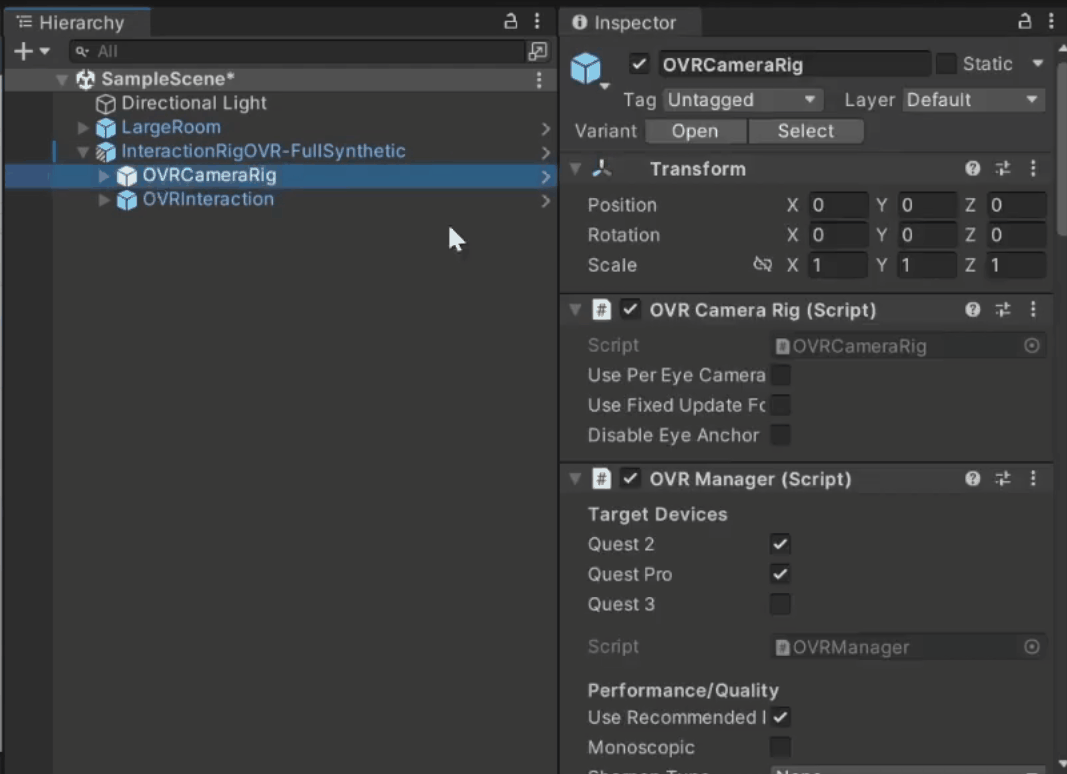
Note: The InteractionRigOVRFullSynthetic prefab is taken from the Legacy folder, which means that in the future this prefab might not be present. In such a case you will have to create your rig from scratch by looking at the instructions given in the documentation.
So with that, we have the scene setup. Next, let’s import a third-party avatar and set it up for body tracking.
So with that, we have the scene setup. Next, let’s import a third-party avatar and set it up for body tracking.
Third-Party Avatar Setup
You can go online and download any 3D character of your choice but there's only one condition! The character has to be humanoid.
For this project, we’ll use this character from Sketchfab.
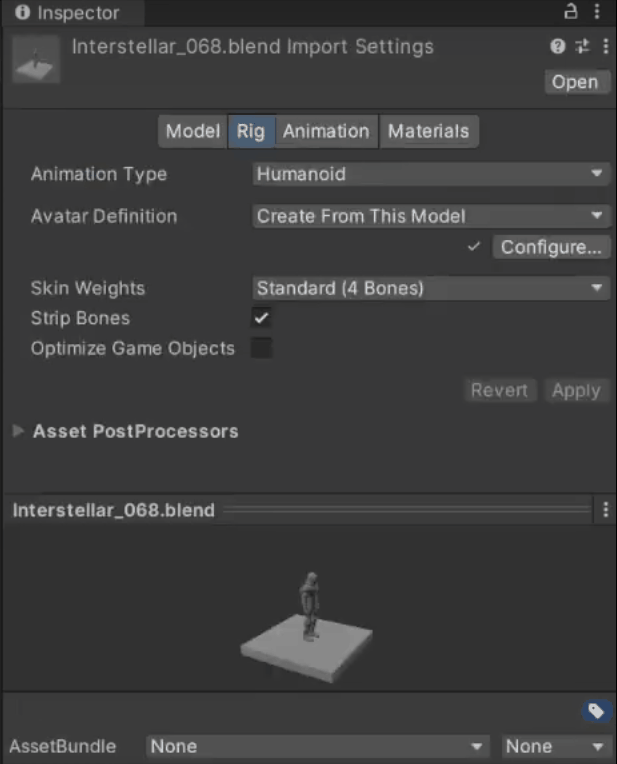
- Once you have the character downloaded, extract it and import it into Unity.
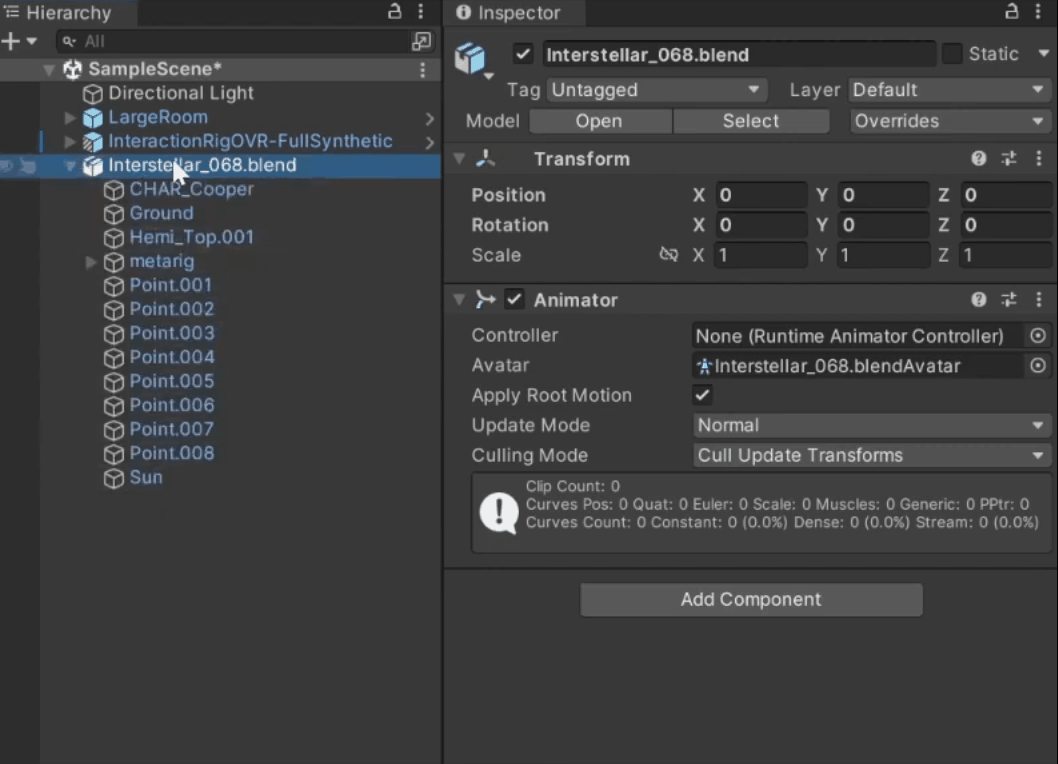
- From the Project window, select your avatar → select the Rig tab → select the animation type as humanoid → click on Apply.
Now when you open the prefab, you’ll see that a humanoid Avatar has been created. When you click on Configure Avatar it’ll show you all the bones that are there mapped i.e. the above step has automatically linked all the avatar transforms to Unity’s Enums.
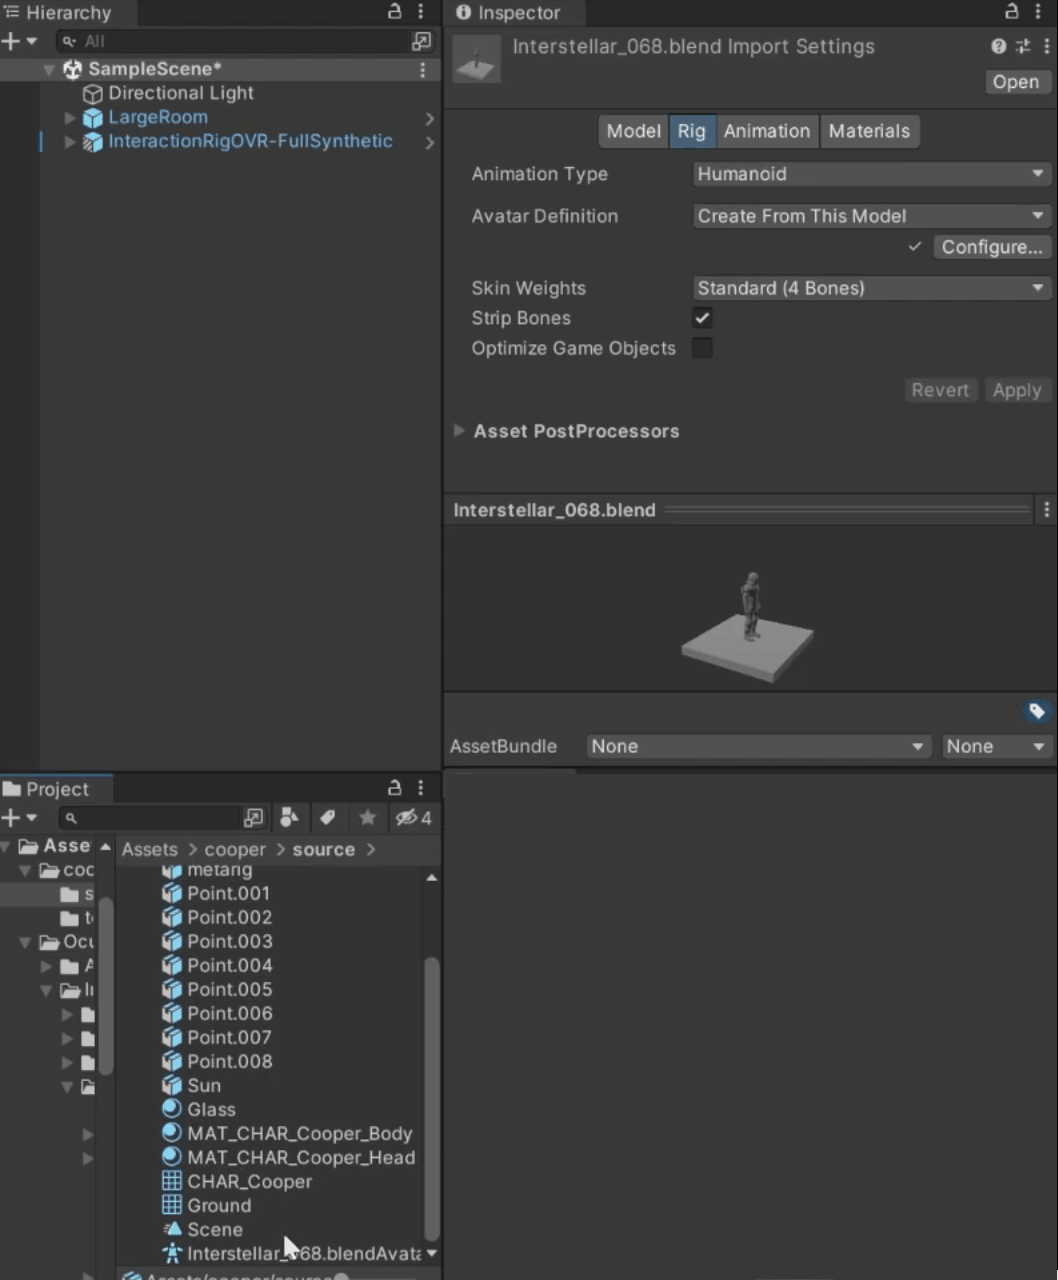
Note: If you are using a different avatar and if the bones are not mapped correctly, make use of this window to make the required changes.
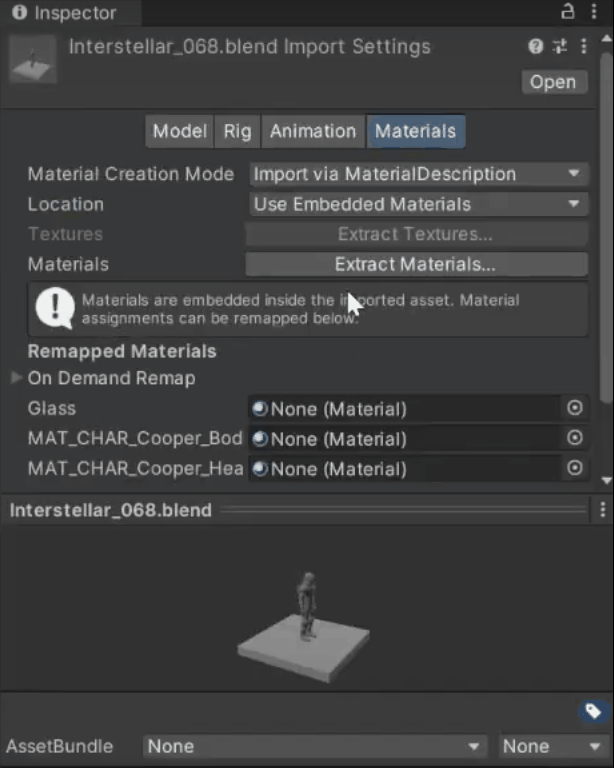
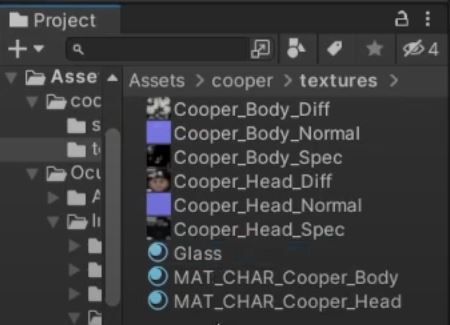
To add materials to the Avatar:
- Select your avatar → select the Material tab → click on Extract Material and assign a location as the Texture folder.
- Now manually assign the textures to the material.
- Select the prefab, drag and drop it into a scene.
Now this Avatar has many GameObejcts that we don't need, so
- Right-click on the prefab, select prefab → unpack completely
- Remove all the point lights and the ground.
- All we need is the character and the rig/bones
With that, we have our Avatar configured for animation rigging.
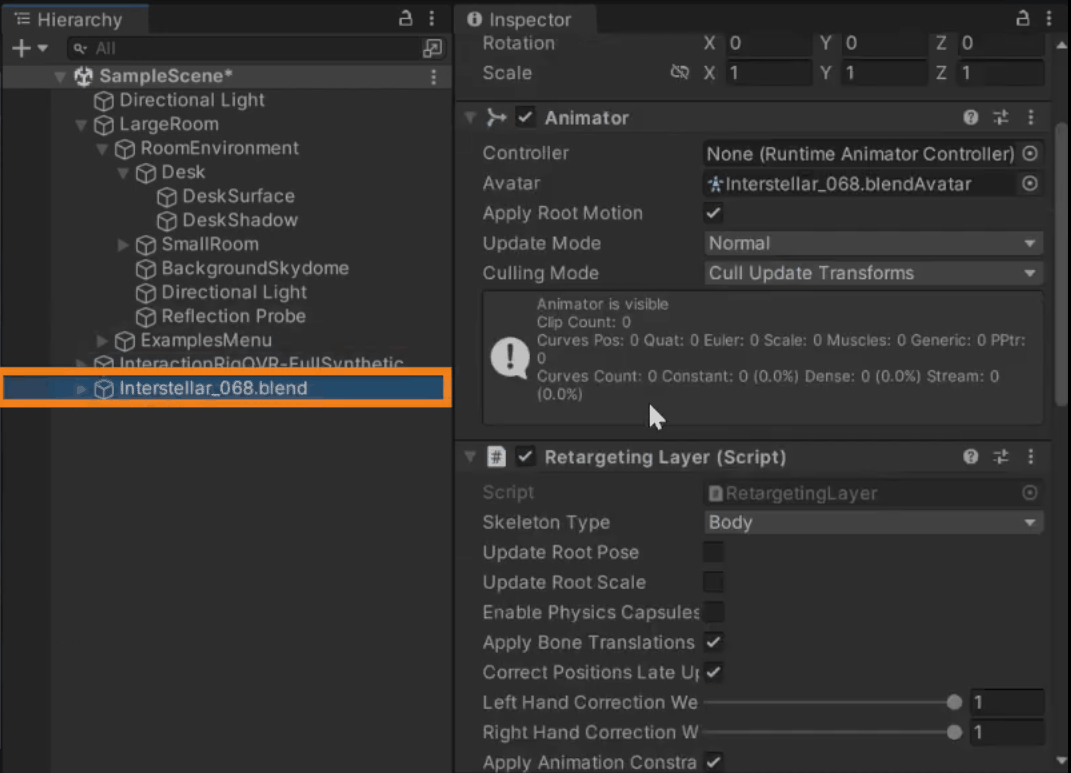
Implementing Upper Body Tracking
To implement body tracking we need to do is select the character,
- right-click on it and select Movement Samples → Body Tracking → Animation Rigging Retargeting

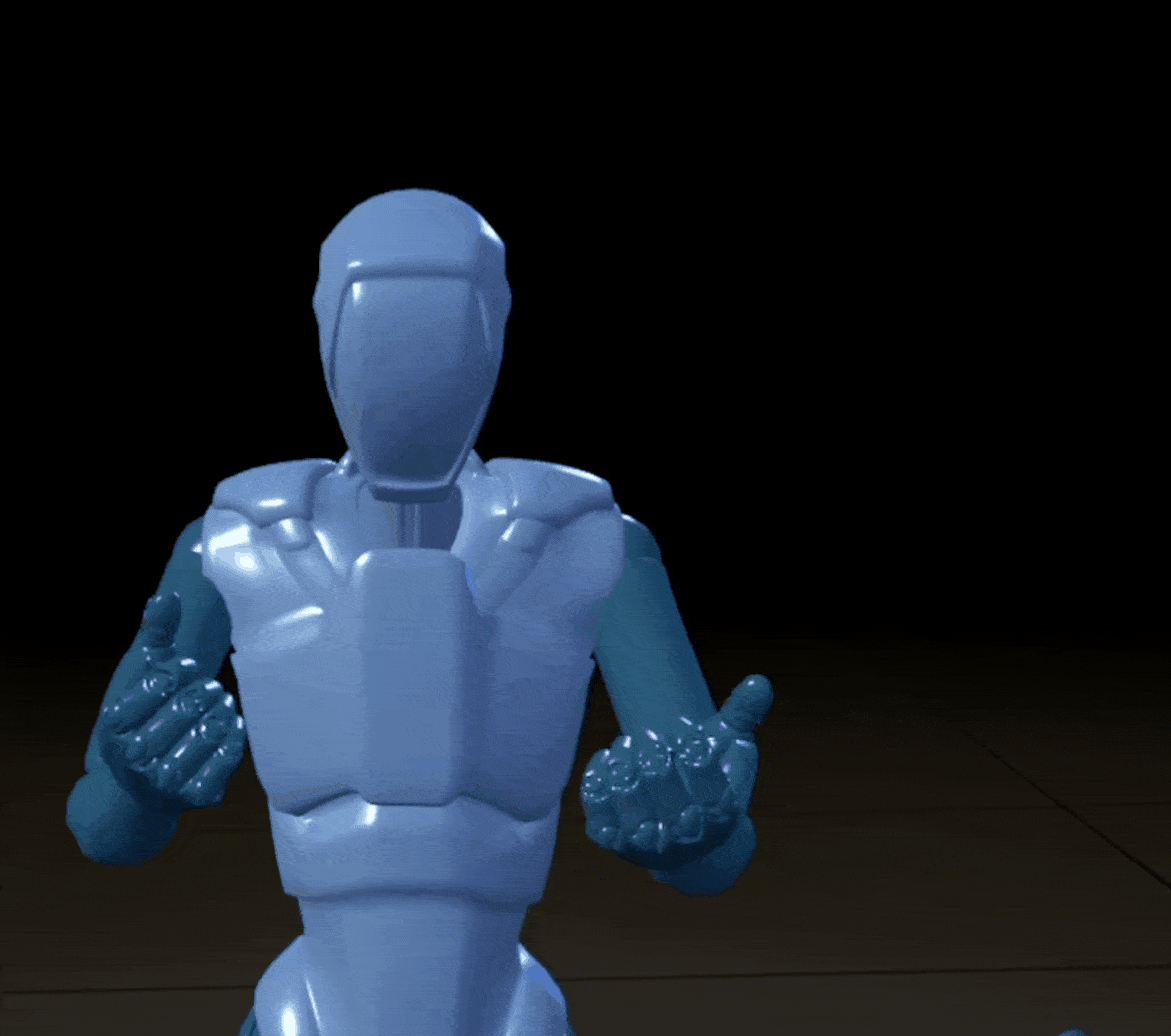
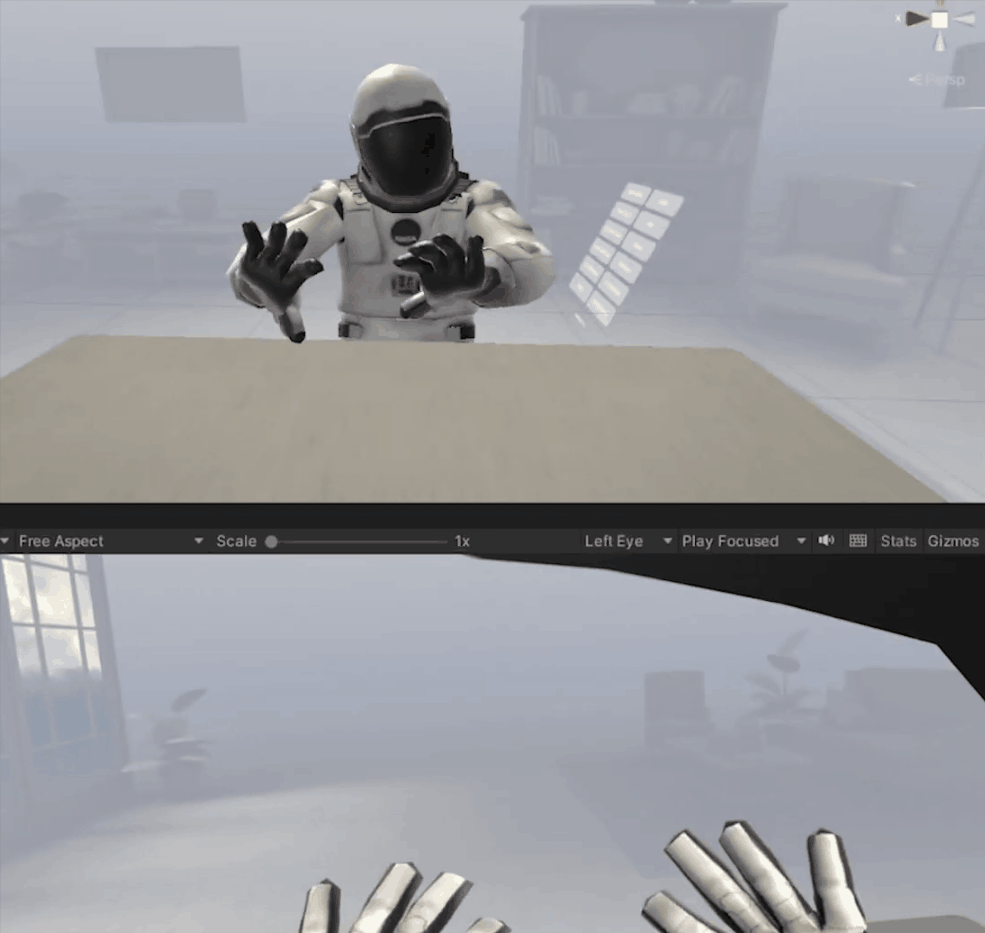
- Then, press play and test the scene. As you can see, we have our character following our upper body movements.
Adjusting Distortion
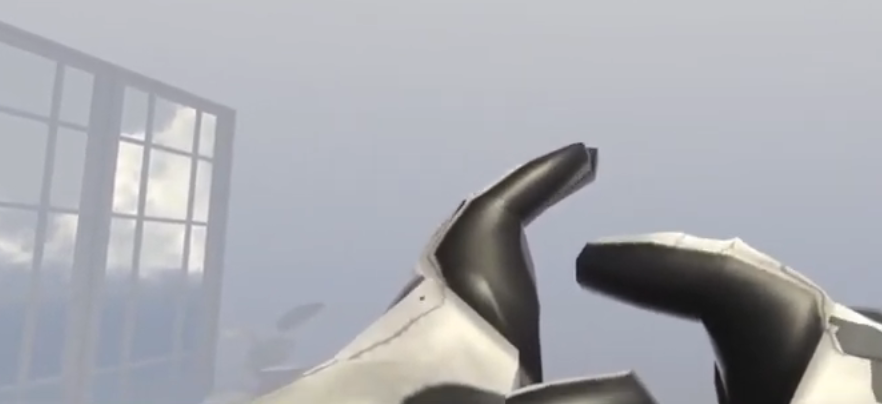
Based on the positioning of the bones of the avatar, sometimes the alignment might not be right leading to some distortion. For example, in our character the top side of the palm is going slightly inside. Now there's a way we can fix it and it's really simple.
- In the Play mode, select the Avatar and in the retargeting layer component, there’s a field called Joint Rotation Tweaks.
- Click on the plus symbol and select the joint you’d like to adjust. In our case, it’s the left hand.
- Click on the plus symbol inside the list and rotate it in X direction.
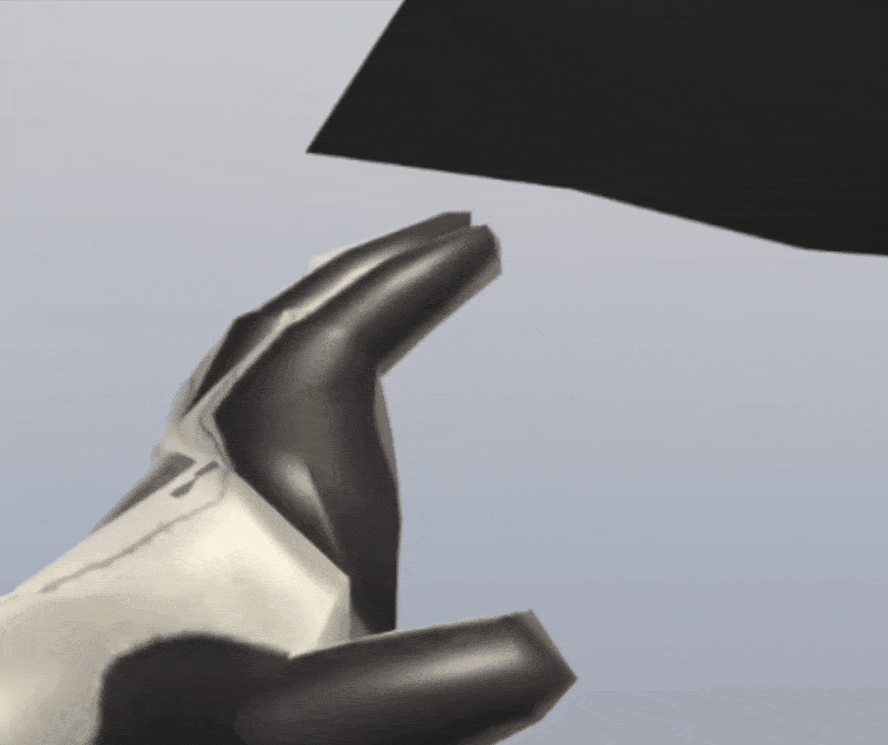
- The following picture shows you the difference between the left hand and the right hand.
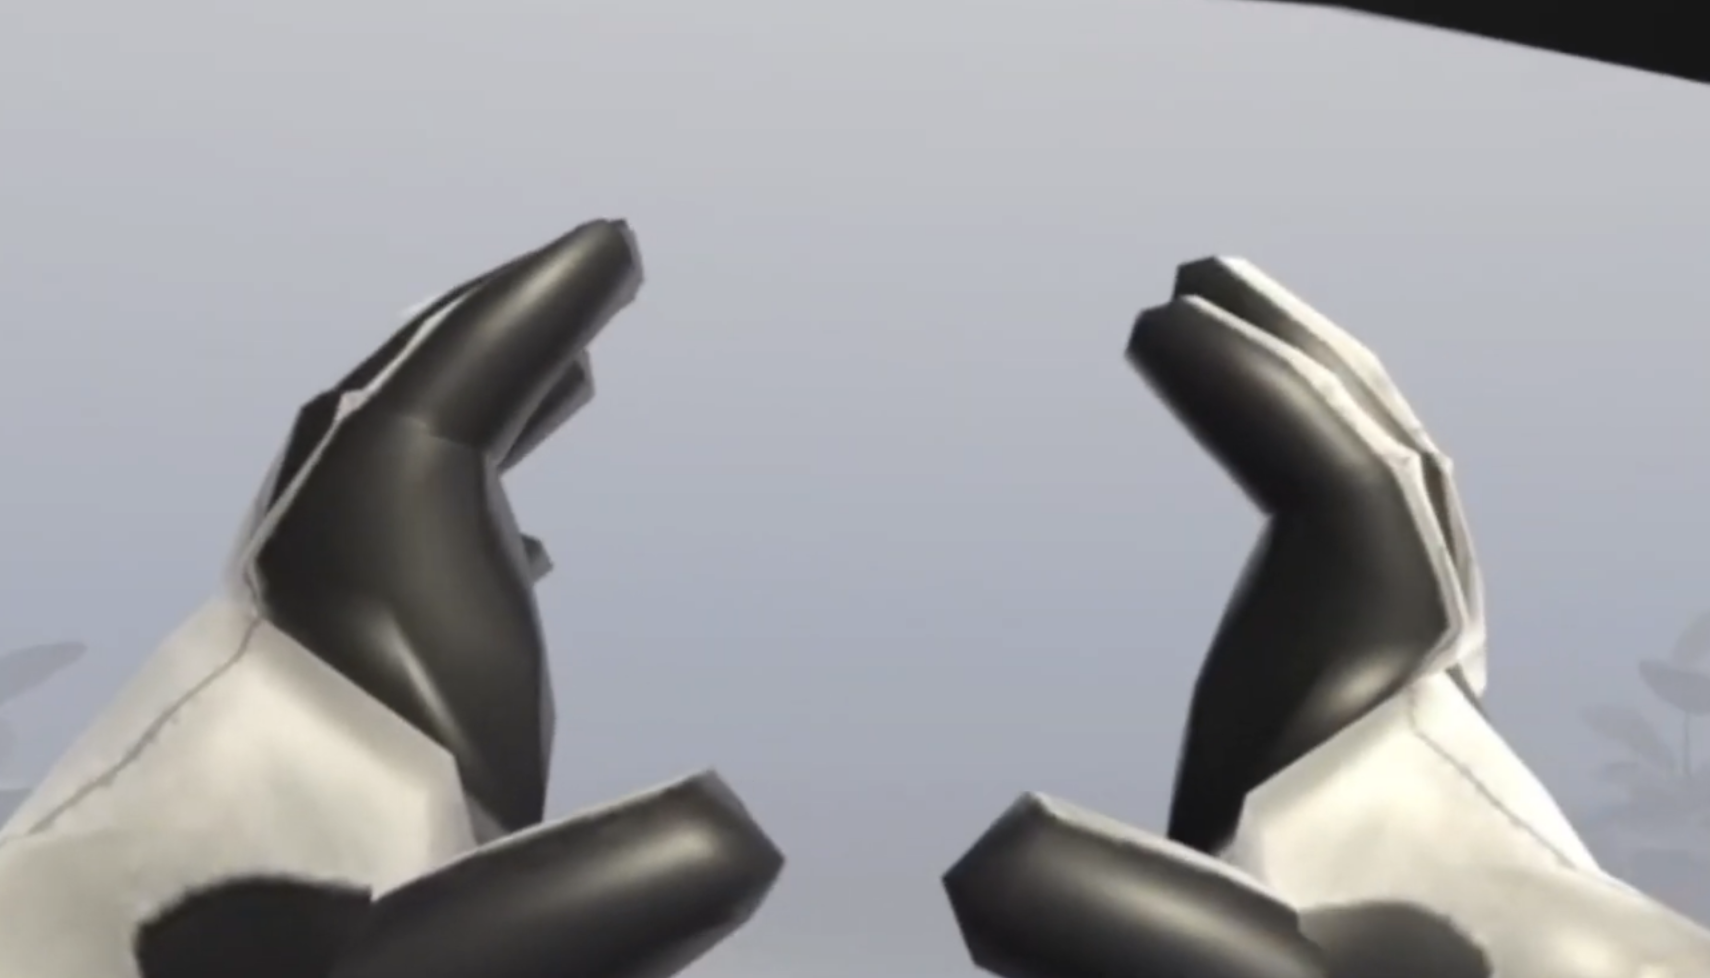
So depending on your Avatar, small adjustments might be required.
Mirroring Avatar
For debugging purposes or to get a feel of how your Avatar might look to others, you might want to create a mirror using a camera and a render texture but then that would be computationally expensive and it might slow down your headset. So what do we do instead?
- Add the Avatar once again in your scene → remove or disable all the GameObjects that we don't need
- Select the Avatar move it forward rotate it by 180 degrees so that it’s facing the actual Avatar.
- Add a component called Late Mirrored Objects.
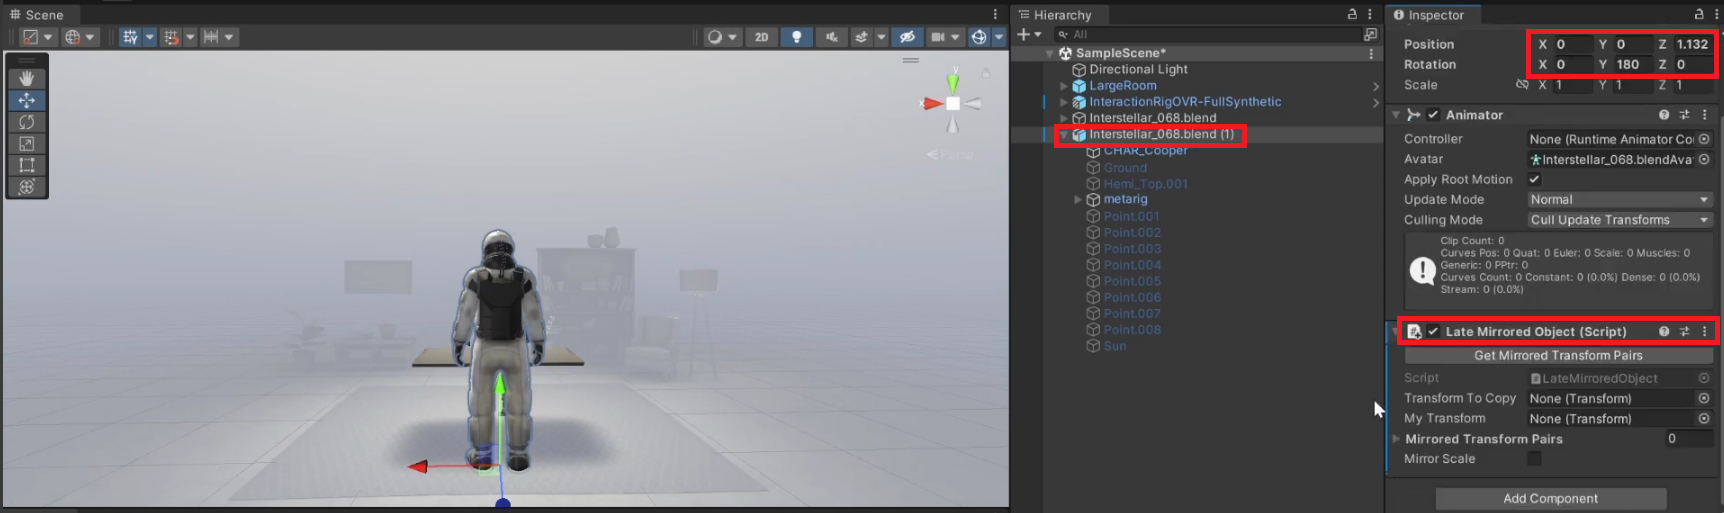
- Drag and drop the transform of the skeleton of our original avatar into the ‘Transform To Copy’ field.
- Drag and drop the transform of the skeleton of the mirrored avatar into the ‘My Transform’ field.
- Next, click on Get Mirrored Transform Pairs and till will automatically map the transform pairs.
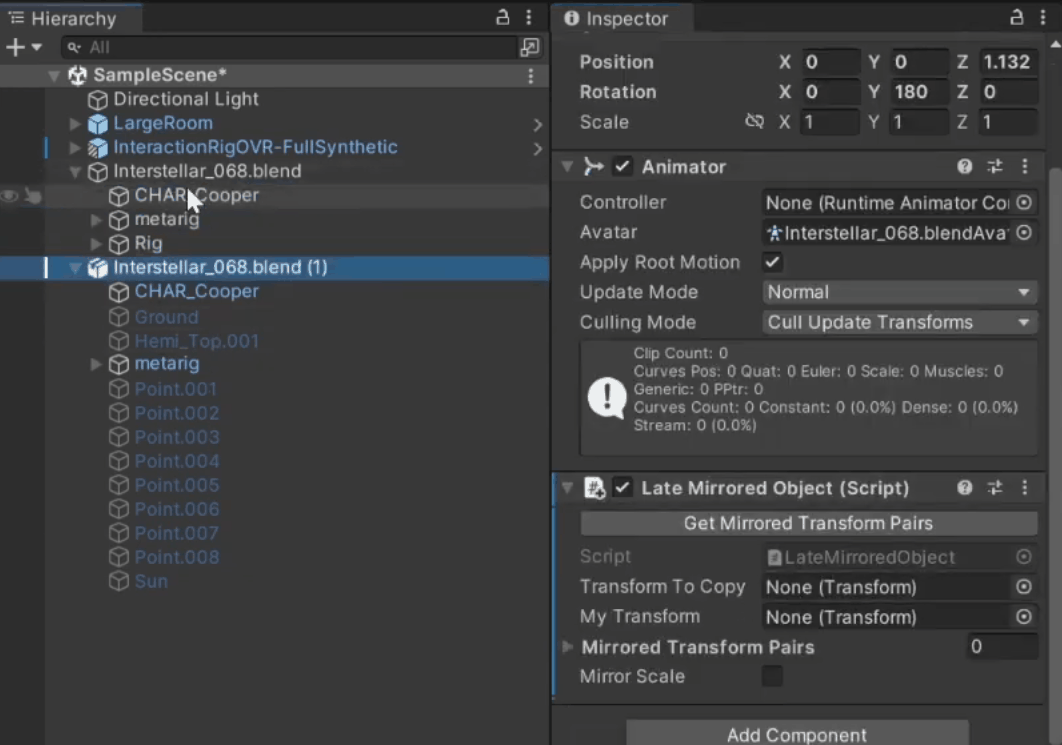
- Now if we press play and test it, you’ll see that your actions are copied to the mirrored Avatar.

Conclusion
Alright! you have learned to use the Meta’s Movement SDK to animate your characters by implementing body tracking. That was really easy, right?
Are you up for a challenge? In this blog post we saw how to animate the upper body, can you try to implement lower-body animation? You can use this video as a reference. If you managed to get it working, feel free to share it with us!
